
Appearance
Labels and Statuses
Built-in tools that let your agent tag and categorize conversations — a lightweight CRM you get without connecting any external system. Use them to organize leads on a virtual Kanban board and to drive follow-up logic.
In the app, these live on the client card: the Labels field (free-form tags) and the Funnel status field (a single pipeline stage).
At a glance
| You need | Where in the app | Result |
|---|---|---|
| Create labels / funnel statuses | Active chats → open a client card | Values become available to the agent in every conversation |
| Import statuses from a CRM | Integrations → your CRM → Sync statuses | Matching funnel statuses created automatically in MyChatBot |
| Tell the agent when to tag | Agent instructions | Agent applies labels / sets funnel status mid-conversation |
| Act on the tags | Outreach → Create | Targeted follow-up sequences per label + status combination |
Set it up in 3 steps:
- Create your labels and funnel statuses from a client card (or sync statuses from a CRM).
- Add directives to your agent instructions telling it when to apply each label/status.
- Build follow-up sequences targeting specific label + status combinations.
How labels differ from statuses
- Labels are multi-value — a customer can carry several tags at once (e.g.
B2Bandpricing_question). - Funnel status is single-value — setting a new one replaces the previous status rather than adding to it.
Key benefits
- Organize customers in a virtual Kanban board format.
- Tag users with specific labels (e.g.
B2B,B2C). - Track conversation progress with a funnel status.
- Build targeted follow-up sequences based on specific combinations of labels and statuses.
- Works independently or alongside other CRM integrations.
How it works
During a conversation your MyChatBot agent can do two things on its own:
- Apply labels — attach one or more tags to the customer (multiple labels can coexist).
- Set the funnel status — move the customer to a single pipeline stage (only one status is active at a time).
You never call anything manually for this — the agent decides when to tag based on the directives you put in its instructions.
Creating labels and statuses
Before your agent can use labels and statuses, they need to exist. Create them one of two ways:
Manually, from a client card
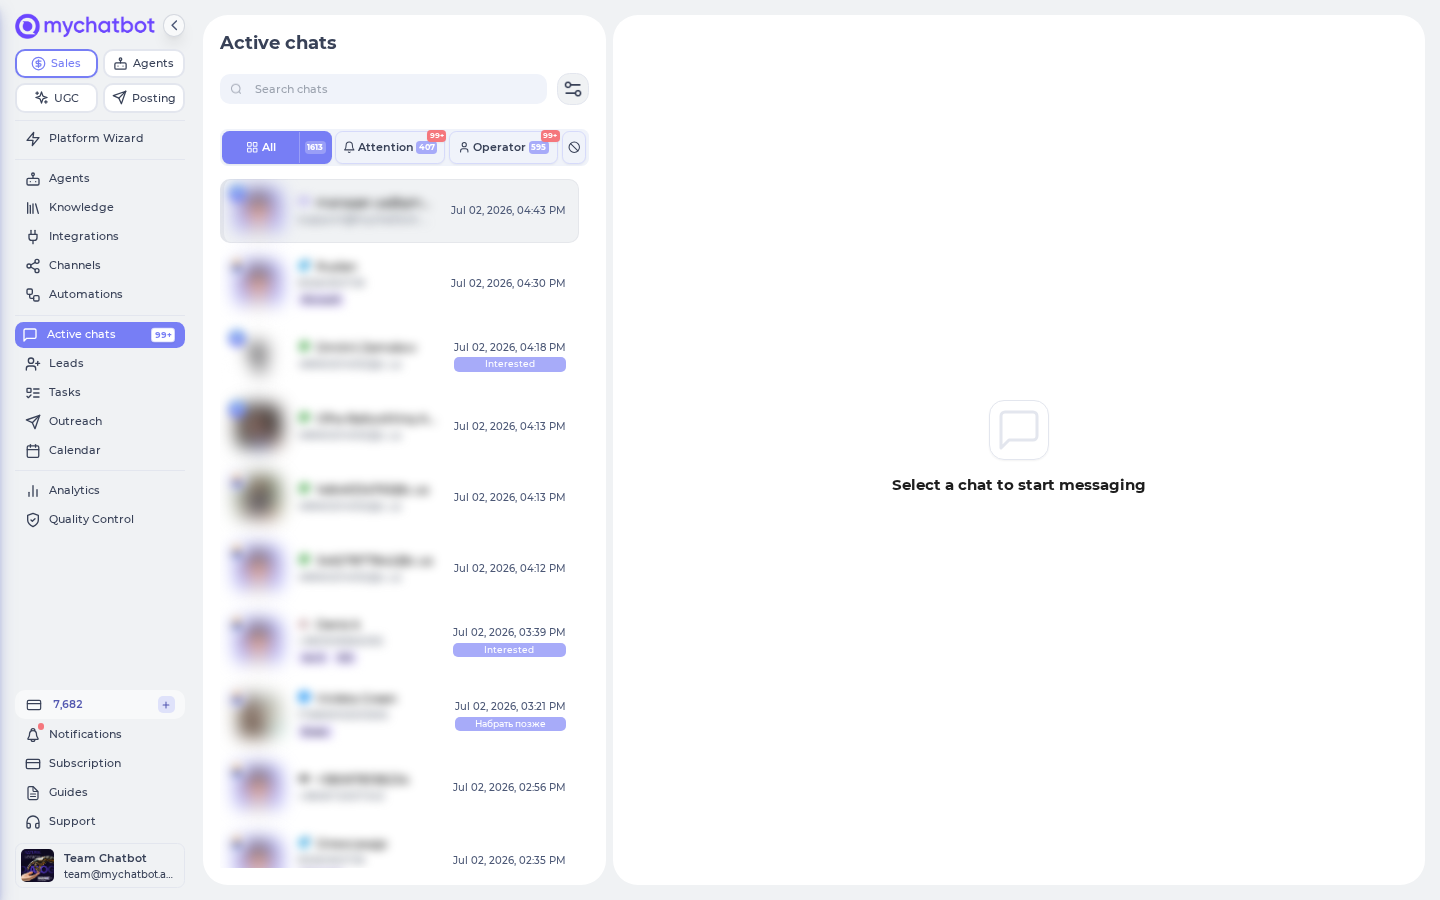
- Go to Active chats and open any conversation.
- On the client card, use the Labels field (Add new tag) or the Funnel status field (Add new status) to create values.
- Once created, the agent can use them in any conversation.
In the app
Active chats → open a client card → Labels / Funnel status → https://app.mychatbot.app/chats
By syncing from a CRM (statuses only)
- If you use a CRM integration, import its funnel stages with the Sync statuses button. Matching statuses are created in MyChatBot automatically and synced to the agent's assigned pipeline.
In the app
Integrations → your CRM → Sync statuses → https://app.mychatbot.app/integration
Create labels and statuses before using them
Labels and statuses must exist before the agent references them. If your instructions ask the agent to set a status that hasn't been created (manually or via Sync statuses), it won't be applied. Funnel status is single-value — setting a new one replaces the previous status rather than adding to it.
Telling the agent when to tag
To use labels and statuses, include plain-language directives in your agent's instructions. Refer to labels and statuses by the exact names you created:
text
When chat starts, please set client status to "active" and add "new_lead" client label.

If customer mentions bulk ordering, add "B2B" client label.

When customer provides contact information, set client status to "qualified_lead".

If customer stops responding, set client status to "dropped".
Building follow-up sequences
Create targeted follow-up sequences based on specific combinations of labels and statuses:
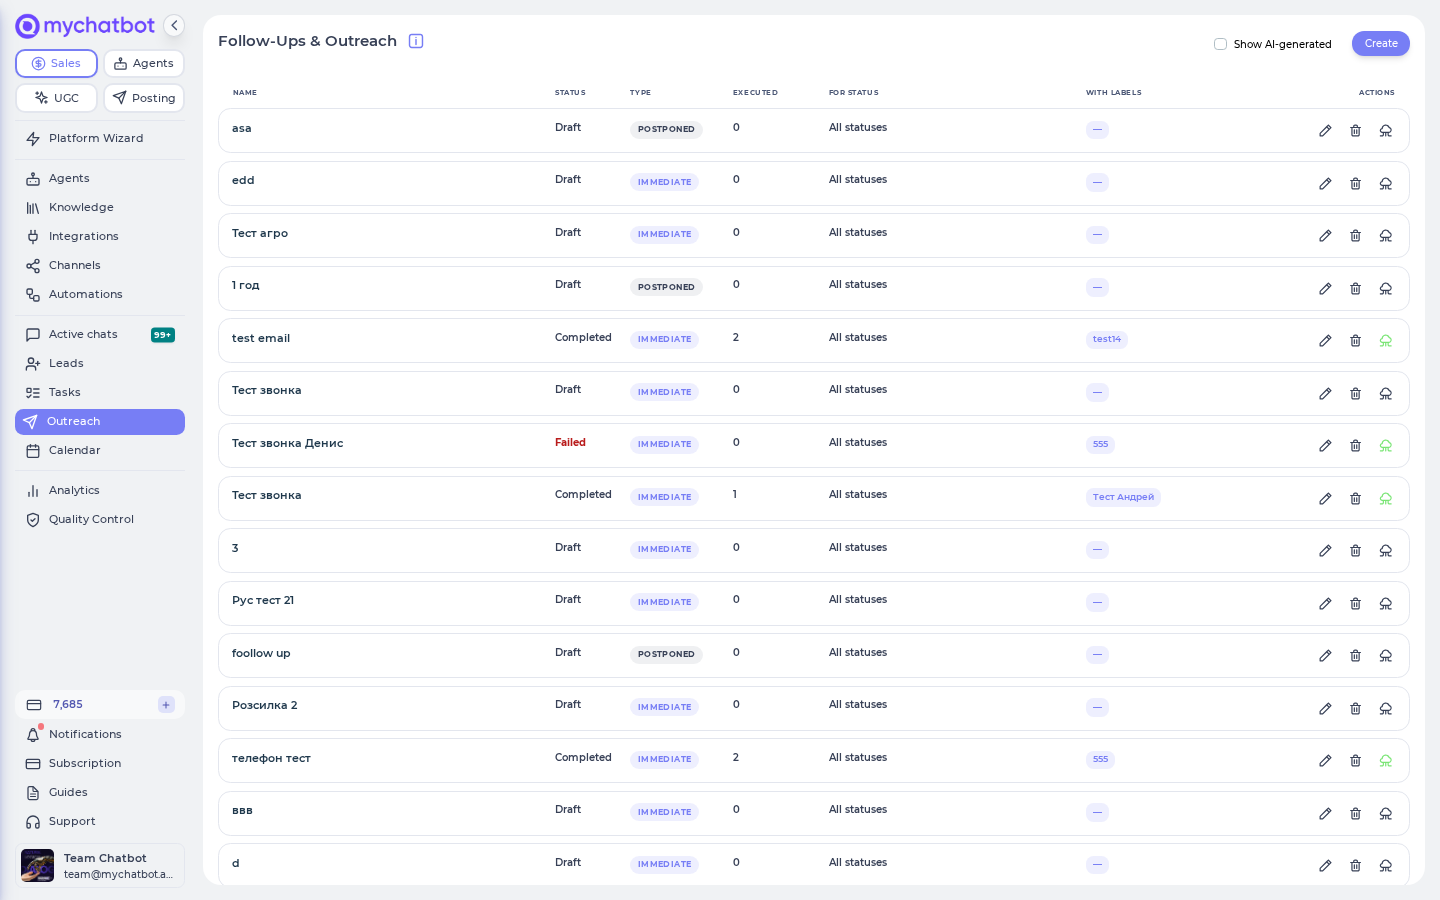
- Go to Outreach.
- Click Create.
- Target specific combinations of statuses and labels.
- Define the follow-up message and timing.
In the app
Outreach → Create → https://app.mychatbot.app/follow-up
For example, you could create different follow-up sequences for:
droppedstatus +B2Blabelqualified_leadstatus +pricing_questionlabel
Integration with CRM systems
When you use an external CRM integration, funnel-status changes stay in sync between the two systems — MyChatBot's built-in status field and the CRM share the same pipeline stage, so a change from either side is reflected in the other.
This means you can:
- Use an external CRM for status tracking.
- Use MyChatBot's built-in label system for additional categorization.
- Build complex follow-up logic combining both systems.